
Installation · 6 min read
How is artificial turf installed? What to expect, step by step
Most of the work happens under the turf. Here is what your installer does, in order, and what you can do to get your yard ready.
Updated · By The Turf Factory
The short answer
Your installer removes 3–4 inches of grass and soil, sets the grade so water drains away from the house, and builds a compacted 3–4 inch crushed-stone base. Then the turf is rolled out, seamed, nailed at the edges, filled with infill if the product calls for it, and brushed upright.
Before the crew arrives: how to prep your yard
Your job is small: tell the installer what is buried in the yard, clear the way in, and keep pets and kids out of the work area. The installer handles the digging and the utility locate.
- Mark private lines. Flag sprinkler heads, irrigation lines, landscape lighting wire, and any buried line you added yourself, such as power to a shed or gas to a grill. 811 only covers lines owned by utility companies. Sunshine 811 in Florida says member utilities “only mark the facilities they own” and that private lines are the homeowner’s responsibility. If you are not sure where something runs, say so at the estimate.
- The 811 call is the installer’s job. Before any digging, the crew requests a utility locate through 811, the free national call-before-you-dig service. Utilities mark their lines with paint or flags, which takes a few business days. Sunshine 811 notes that the contractor doing the work is responsible for that request.
- Clear access. Move vehicles, trash cans, patio furniture and anything stored along the path to the yard. The crew brings in equipment, base material and turf rolls, so the gate and side yard need to be open.
- Keep pets and kids away. Excavation, power tools and compaction equipment make the work area unsafe until the job is done.
How long the install takes depends on the size of the area, how easy it is to reach, and how much base work the site needs. Your installer gives you a schedule after the site visit.
Step 1: Excavate, grade and edge
The crew removes the old lawn and checks that water will flow away from your house. That means digging out 3–4 inches of grass, roots and topsoil across the whole area.
With the soil out, the installer checks grading and drainage. The finished surface should slope 1–2% away from the house so rain runs off toward the yard’s natural drainage instead of toward your foundation. Low spots and areas that pond after rain get corrected now, because they are much harder to fix once turf is down.
The subgrade (the native soil at the bottom of the dig) is then compacted so the base above it has a firm footing.
Edging and weed barrier
Edging holds the base and turf in place at the borders. Your installer sets it along any edge that is not already contained by pavers, curbing or a wall.
An optional geotextile weed barrier can go down over the subgrade. It adds a layer between the soil and the base and helps keep weeds from coming up through the stone. Ask your installer whether it makes sense for your yard.
Step 2: Build the compacted base
The base is what keeps turf flat, draining and free of dips for years. Your installer builds it from crushed stone, not soil or sand alone.
- Aggregate base. The crew spreads 3–4 inches of crushed aggregate, usually Class II road base or 3/8-inch-minus. It goes down in layers of 1–2 inches, and each layer is compacted before the next goes on. Compacting in thin layers gets the whole depth solid, not just the top.
- Fines layer. About 1/2 inch of fine material goes on top. The crew screeds it smooth, wets it and compacts it again. This is the surface the turf actually sits on, so any ripple here would show through.
- Final check. Before any turf comes out, the installer walks and checks the base for soft spots and fixes them.
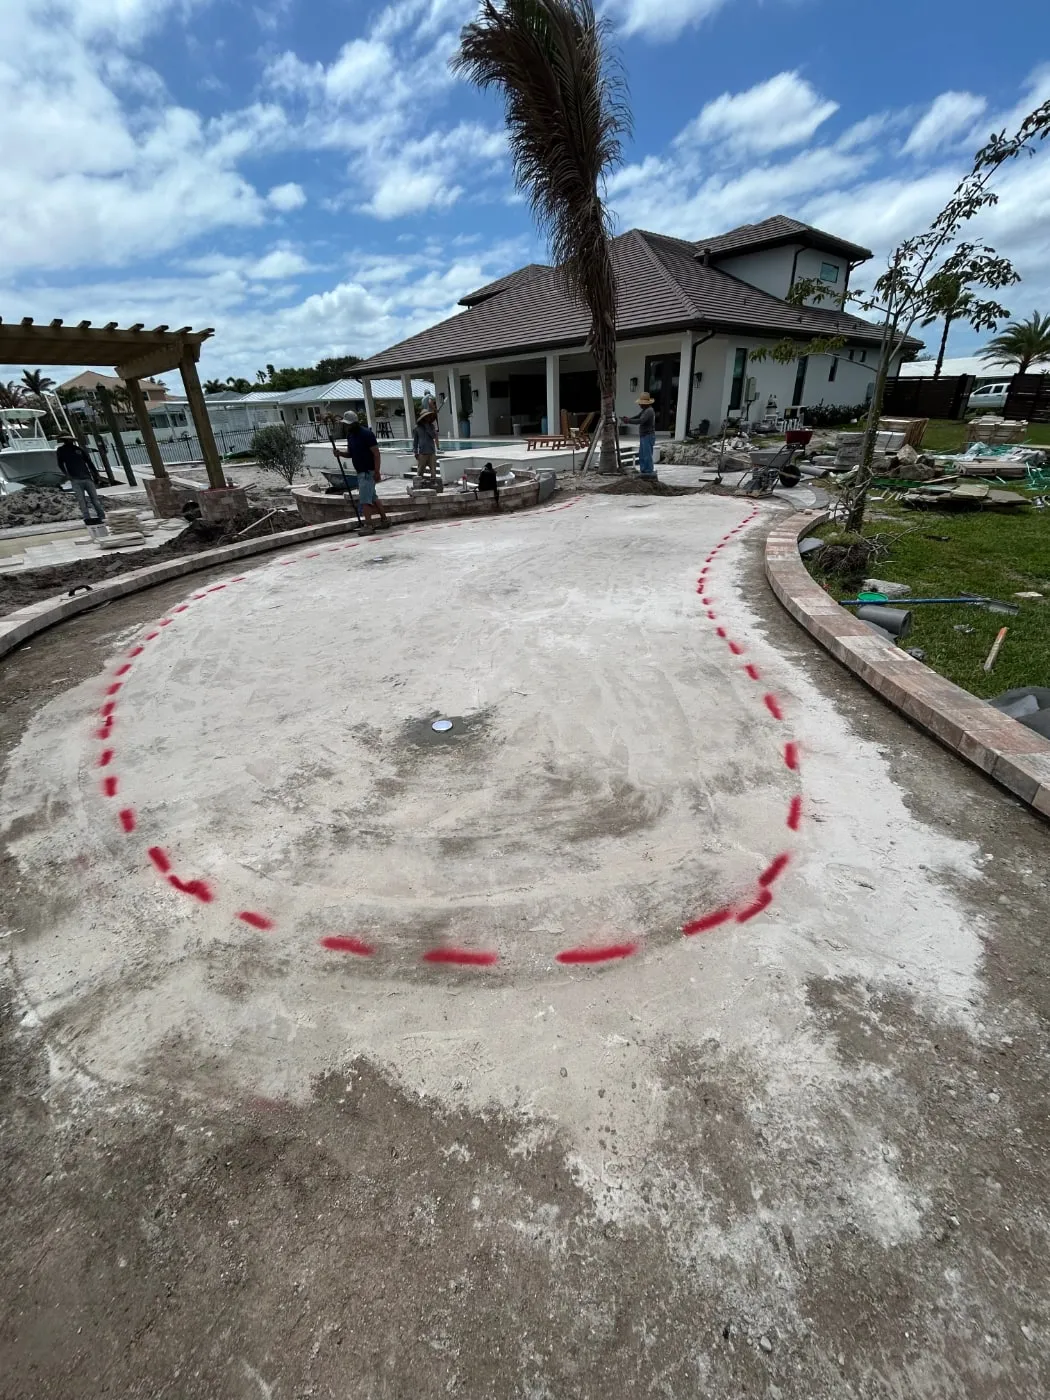
On this backyard putting green, the base is finished and the green’s shape is painted on before the turf goes down. The cup is already set into the base.
Step 3: Lay, seam and nail the turf
Once the base passes inspection, the turf is rolled out, cut to fit, joined and fastened. This is the step most people picture, but it moves fastest because the prep is done.
- Laying. Rolls are unrolled across the base and given time to relax and lie flat, with every piece laid in the same direction.
- Cutting. The crew trims the turf to the edges, around beds, trees and hardscape, and around fixtures like sprinkler boxes and drains.
- Seaming. Where two rolls meet, the edges are joined over seaming tape with turf adhesive underneath, so the joint holds and is hard to spot once the blades are brushed together.
- Nailing. Turf nails along the perimeter and at seams hold the turf to the base so it cannot shift or lift.
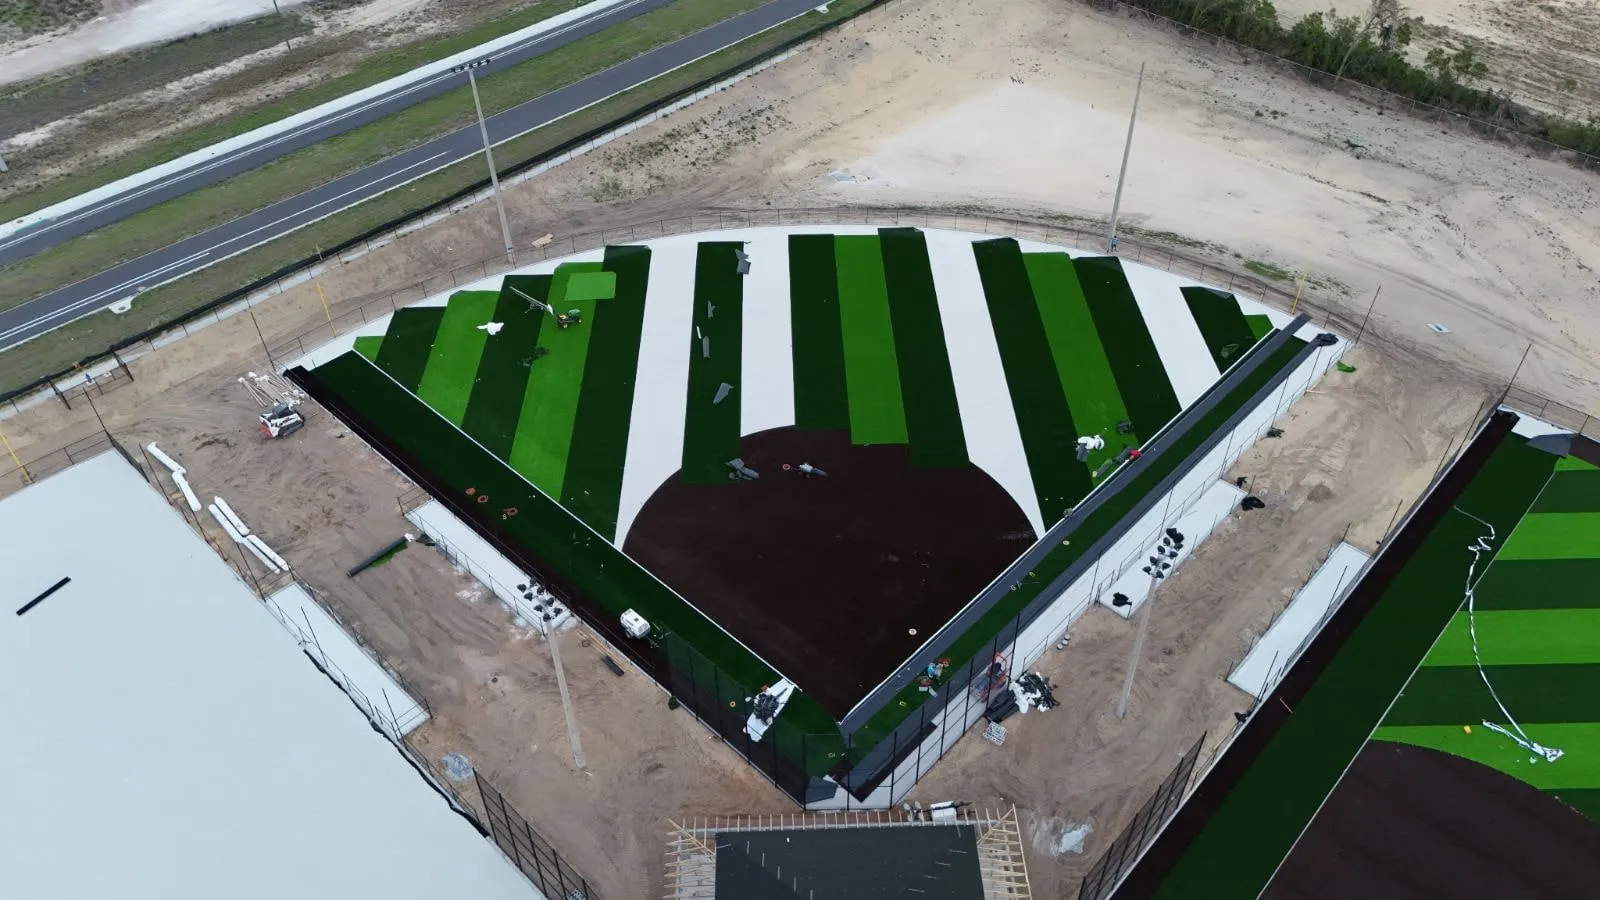
The same steps apply at any scale. On this softball field, alternating rolls are laid in stripes and the gaps fill in as each row is seamed.
Step 4: Infill and brushing
Infill is spread into the turf to help hold it in place and support the blades. How much goes in depends on the product, and some products need none.
Each product’s spec sheet lists its infill. Luxe Flow 75 calls for 1.5–3 lbs per square foot, Pro Putt 42 for a backyard green calls for 1–2 lbs per square foot, and Malibu Flow 65 is non-infill, so that step is skipped.
The crew spreads infill in passes and brushes it down into the blades with a power brush, which also stands the fibers up. A final brushing and a cleanup of the site finish the job.
Picking the turf and getting an estimate
Your installer can help you choose a product during the estimate, because the choice affects the install. Infill turf adds a step and a material order, and non-infill turf like Malibu Flow 65 skips it.
If you are still comparing products, start with how to choose artificial turf, or see our pages for backyard lawns, pet turf and putting greens. For budget questions, read what artificial turf costs. After the install, how to maintain artificial turf covers the care that keeps it looking new and keeps your warranty valid. Every landscape and putting product in our line is Made in U.S.A., lead free and PFAS free, and carries a 16-year warranty.
The best way to know what your yard needs is a site visit. Find your local installer for a free estimate covering the base work, product and schedule for your project.
Plan your install
Get a free quote